How-to Use A Powerful Paint Sprayer For Flawless Home Projects
Sprayer choices can transform your home projects into stunning masterpieces. By using a powerful paint sprayer, you can achieve even coverage and a professional finish that brushes and rollers can’t match. This guide will walk you through the vital steps to maximize your sprayer’s potential, ensuring safety while minimizing mess and maximizing efficiency. From setup to cleanup, you’ll learn how to tackle any painting task with confidence and precision.
Contents
- Understanding Paint Sprayers
- Types of Paint Sprayers
- Key Features to Consider
- How to Prepare for Your Project
- Choosing the Right Paint
- Safety Precautions
- Tips for Setting Up Your Paint Sprayer
- Equipment Assembly
- Proper Settings for Different Surfaces
- How to Achieve a Flawless Finish
- Techniques for Even Coverage
- Avoiding Common Pitfalls
- Maintenance Tips After Use
- Cleaning Your Paint Sprayer
- Storing Your Equipment Properly
- Troubleshooting Common Issues
- Spraying Problems and Solutions
- Adjustments for Optimal Performance
- Summing up
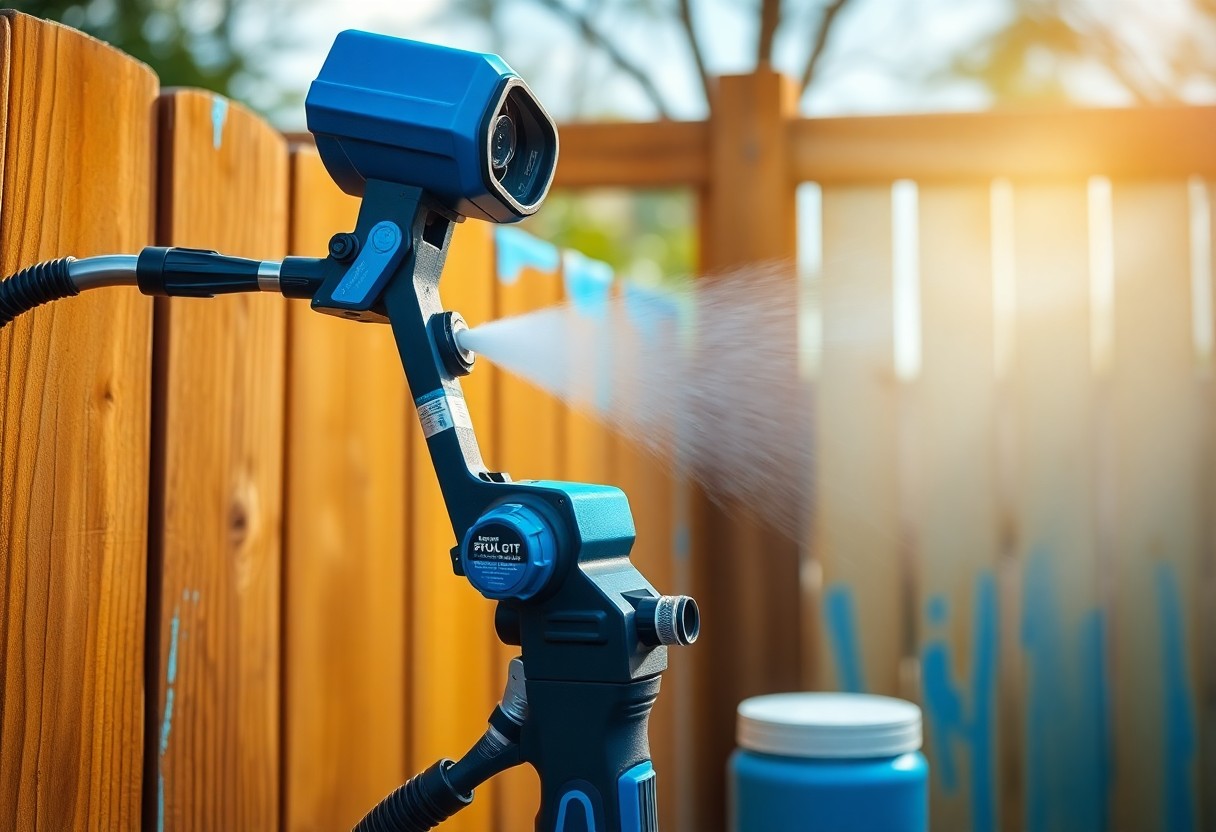
Understanding Paint Sprayers
Paint sprayers are versatile tools designed to deliver a smooth, professional finish on various surfaces. They operate by atomizing paint into tiny droplets, allowing for even coverage and faster application than traditional methods. When opting for a paint sprayer, it’s important to consider your specific project requirements, including the type of paint, surface area, and desired finish quality.
Types of Paint Sprayers
Several types of paint sprayers cater to different project needs. Each type has distinct attributes that can impact your workflow and results.
- Airless sprayers – Ideal for large surfaces and high viscosity paints.
- HVLP sprayers – Best for detailed work and fine finishes.
- Compressed air sprayers – Versatile option for various projects, but requires skill.
- Electrostatic sprayers – Effective for metal surfaces, providing uniform coverage.
- Handheld sprayers – Great for DIY projects and easy to maneuver.
The choice of type directly affects your project’s efficiency and quality.
Key Features to Consider
When evaluating paint sprayers, several features play a significant role in performance and usability. Not all sprayers offer the same capabilities; knowing what to look for can enhance your painting experience.
- Pressure control – Adjusts paint flow for different surfaces.
- Nozzle size – Determines paint stream and coverage area.
- Weight and portability – Affects ease of use and maneuverability.
- Cleaning process – Impacts post-project maintenance and efficiency.
- Durability – Ensures longevity and quality performance over time.
Assume that selecting the right features will significantly impact your project’s success.
In detail, features such as pressure control allow you to tailor the paint application for different surfaces, while nozzle size provides versatility in coverage. A sprayer’s weight and portability enhance maneuverability, particularly in confined areas. Considering the cleaning process is imperative, as easy maintenance saves time after finishing your project. Lastly, a sprayer’s durability guarantees reliability for future tasks. Assume that focusing on these features will streamline your painting process and improve your results.
- Versatile applications – Suitable for walls, furniture, and detailed work.
- Improved finish quality – Professional results with less effort.
- Wider coverage – Reduces time spent on large areas.
- Cleanup efficiency – Makes post-project tasks manageable.
- Advanced technology – Options may include digital controls for precision.
Assume that these advanced features can elevate your home painting projects to a professional level.
How to Prepare for Your Project
Preparation sets the stage for a successful paint spraying project. Start by clearing the area of furniture and covering floors with drop cloths. Ensure proper ventilation and check the sprayer settings according to the manufacturer’s guidelines. You also need to gather all necessary materials, including masking tape and sanding tools, for a smooth workflow.
Choosing the Right Paint
Selecting the appropriate paint can greatly impact your results. For sprayers, opt for paints that are specifically formulated for spray application, such as latex or oil-based paints. Be mindful of the viscosity; some may require thinning for optimal performance. Always check the sprayer’s specifications to determine compatibility.
Safety Precautions
Prioritizing safety is imperative when using a paint sprayer. Always wear a mask to avoid inhaling paint fumes, and use protective goggles to shield your eyes from overspray. Ensure that your workspace is well-ventilated to reduce the risk of respiratory issues.
Consider additional safety measures, such as using gloves and long sleeves to protect your skin from paint and chemicals. If working outdoors, check the weather to avoid spraying in windy conditions, which can carry paint mist into unwanted areas. Furthermore, keep the workspace clear of flammable materials and maintain a first-aid kit nearby for any accidents. Your safety first promotes a smoother project experience.
Tips for Setting Up Your Paint Sprayer
Setting up your paint sprayer correctly can make a significant difference in the outcome of your project. Follow these tips for optimal results:
- Read Manufacturer Instructions thoroughly
- Choose the Right Environment – ensure good ventilation
- Prepare Your Surface adequately to prevent imperfections
- Test Spray Settings on a scrap piece before starting
- Maintain Consistent Distance from the surface while spraying
The right setup leads to a clear, consistent application.
Equipment Assembly
Assemble your paint sprayer carefully, ensuring all components are securely attached. Begin by connecting the spray gun to the hose, then attach the hose to the pump. Check for any air leaks by pulling back on the trigger; a steady stream confirms proper assembly. Follow manufacturer guidelines for each specific part, paying attention to any specialized connectors or filters needing installation. This attentiveness ensures your paint sprayer operates effectively.
Proper Settings for Different Surfaces
Adjusting the settings on your paint sprayer is imperative for optimal application across different surfaces. Each type of material, whether it’s wood, metal, or drywall, requires specific pressure and nozzle size. For example, use a fine mist setting for detailed work on trim and a wider spray for larger areas. Additionally, consider temperature and humidity, as these conditions impact drying time and finish quality. Tailoring your approach ensures a professional-level application for every project.
When you understand your surface and adjust your paint sprayer accordingly, results improve dramatically. For example, softwood may need a wider nozzle with lower pressure to avoid splatter, while metal surfaces often require high pressure for an even finish. Understanding these nuances allows you to achieve a seamless look, preventing issues like uneven coats or excessive drips. Always test on a small area to confirm that your settings are spot on before entering into the full project.
How to Achieve a Flawless Finish
To ensure a flawless finish, you need to balance technique and environment. Start by preparing your surfaces meticulously, removing dust and debris for optimal adhesion. Utilize painter’s tape to protect areas you want to keep intact. Keep a consistent distance from the surface when spraying, typically around 12 inches, and make smooth, even strokes. Achieving a uniform coating requires practice, so consider making test passes on scrap material before tackling your main project.
Techniques for Even Coverage
For even coverage, always move the sprayer in a steady motion, overlapping each pass by about 50%. Begin each stroke off the edge of the surface to avoid an excess spray buildup at the starting point. Adjusting your speed can also help; a brisk pace promotes smoother results. Utilize a piece of cardboard to practice your technique and find the right rhythm before applying paint to your actual project.
Avoiding Common Pitfalls
Common pitfalls in using paint sprayers include improper thinning of paint, inconsistent nozzle size, and inadequate airflow. Not adhering to the manufacturer’s guidelines can lead to uneven application and drips. Always test your paint’s viscosity with a consistency cup and adjust accordingly before proceeding, as too-thick paint can clog the sprayer. To avoid these issues, keep your workspace clean and organized, ensuring you have all tools ready before you begin.
One major pitfall to avoid is neglecting to clean your sprayer between color changes or at project completion. If paint dries inside the nozzle or pump, it can affect future projects and lead to costly repairs. Also, consider the weather; high humidity can hinder drying times and cause uneven finishes. By being mindful of these factors, you’ll enhance your chances of achieving that impeccable result you desire.
Maintenance Tips After Use
Maintaining your paint sprayer after use is important for its longevity and performance. Follow these tips to ensure your sprayer remains in top condition:
- Thoroughly clean the sprayer and components.
- Inspect parts for damage or clogs.
- Store in a dry, safe place.
- Lubricate moving parts if necessary.
- Run a cleaning solution through the system before storage.
Knowing these maintenance techniques can significantly extend the life of your sprayer.
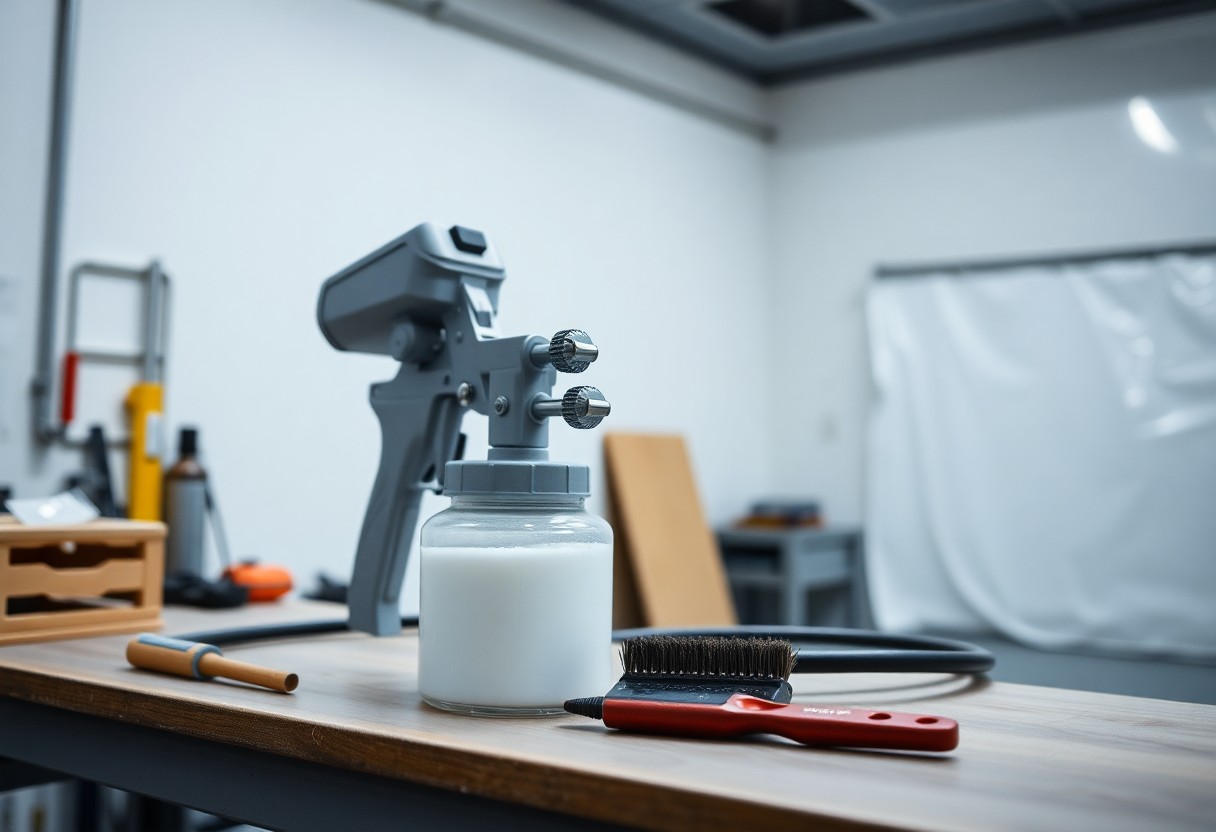
Cleaning Your Paint Sprayer
Cleaning your paint sprayer is vital to prevent paint buildup and clogging. Immediately after use, flush the system with water or the recommended cleaner according to the type of paint used. Use a brush to scrub the nozzle and filters, ensuring debris is removed. Rinse all parts thoroughly to keep them free of residue, which could affect the sprayer’s performance in future projects.
Storing Your Equipment Properly
Storing your equipment properly is important to maintain its functionality. After cleaning, disassemble the sprayer and store each component separately to avoid damage. Keep it in a protective carrying case or a designated area, away from moisture and extreme temperatures. Regularly check on your equipment to ensure no parts have degraded over time.
Proper storage not only protects your investment but also ensures that your paint sprayer is ready to use when you need it. Ideally, keep your sprayer in a cool, dry location that is easily accessible. Using a designated case can prevent accidental drops and damage. Regularly inspecting your stored equipment means you can catch issues before they escalate, allowing for more efficient setup and use in your next project.
Troubleshooting Common Issues
Even the best paint sprayers can encounter issues during use. You might face problems like uneven spray patterns, clogs, or overspray. Identifying the root cause quickly can save you time and materials. Check your setup, ensure the paint is compatible with your sprayer, and clean any obstructions to keep your projects running smoothly.
Spraying Problems and Solutions
If you notice an uneven spray pattern, it may be due to an improper spray angle or clogged nozzles. First, verify that your distance from the surface is consistent. Clean the nozzle according to the manufacturer’s instructions, and consider adjusting the fluid control settings to achieve a more even application.
Adjustments for Optimal Performance
For optimal performance, you should frequently adjust the pressure and fluid settings on your sprayer. Finding the right balance prevents issues like drips and uneven coverage. Start with the manufacturer’s recommended settings and experiment with adjustments on scrap materials until you achieve the desired finish.
Adjusting pressure is vital, as too much can lead to overspray and too little can cause a weak application. Generally, start at a pressure of around 1500 PSI and adjust based on the paint type and project requirements. Fluid control also plays a role; increasing fluid flow can improve coverage but might necessitate a lower pressure. Test these adjustments on a small area first to ensure you’re on track for a flawless finish.
Summing up
Summing up, utilizing a powerful paint sprayer can elevate your home projects to a professional level. Start by selecting the right sprayer for your needs and prepare your workspace diligently. Master techniques such as maintaining consistent distance and speed for even coverage. Properly thinning your paint and conducting a test spray will ensure flawless results. Always wear appropriate safety gear and clean your equipment thoroughly after use to extend its longevity. With these steps, you can achieve a smooth, high-quality finish that transforms your living spaces.