How-to Use A Precise Laser Level For Perfect DIY Home Projects
Most DIY enthusiasts seek precision in their projects, and using a precise laser level can make all the difference in achieving that professional finish. This powerful tool helps you create straight lines and accurate measurements, ensuring your work is not only visually appealing but also structurally sound. In this guide, you’ll learn effective techniques to maximize your use of a laser level, enhancing your safety and efficiency while tackling any home project with confidence.
Contents
- Understanding Laser Levels
- Types of Laser Levels
- Key Features to Consider
- How to Set Up a Laser Level
- Choosing the Right Location
- Calibrating Your Laser Level
- Tips for Using a Laser Level
- Common Mistakes to Avoid
- Best Practices for Accuracy
- Factors Influencing Laser Level Performance
- Environmental Conditions
- Surface Considerations
- Step-by-Step DIY Projects with a Laser Level
- Leveling Shelves
- Installing Flooring
- Maintenance and Care of Your Laser Level
- Cleaning Tips
- Storage Recommendations
- To wrap up
Understanding Laser Levels
Laser levels are important tools for achieving accurate alignments in various DIY projects. They project a straight, level line across surfaces, aiding in installations like shelves, tiles, or framing. With different types and features available, understanding your specific needs helps in selecting the right tool, ensuring your projects come out flawlessly.
Types of Laser Levels
Laser levels come in several types suited for different applications.
| Type | Description |
| Dot Laser | Projects a fixed point for basic alignment tasks. |
| Line Laser | Projects a horizontal or vertical line for more tasks. |
| Rotary Laser | Creates a 360-degree line, ideal for large areas. |
| Self-Leveling Laser | Automatically corrects its position for level lines. |
| Green Beam Laser | Offers enhanced visibility, especially outdoors. |
Thou can now choose the laser level that best fits your project’s needs.
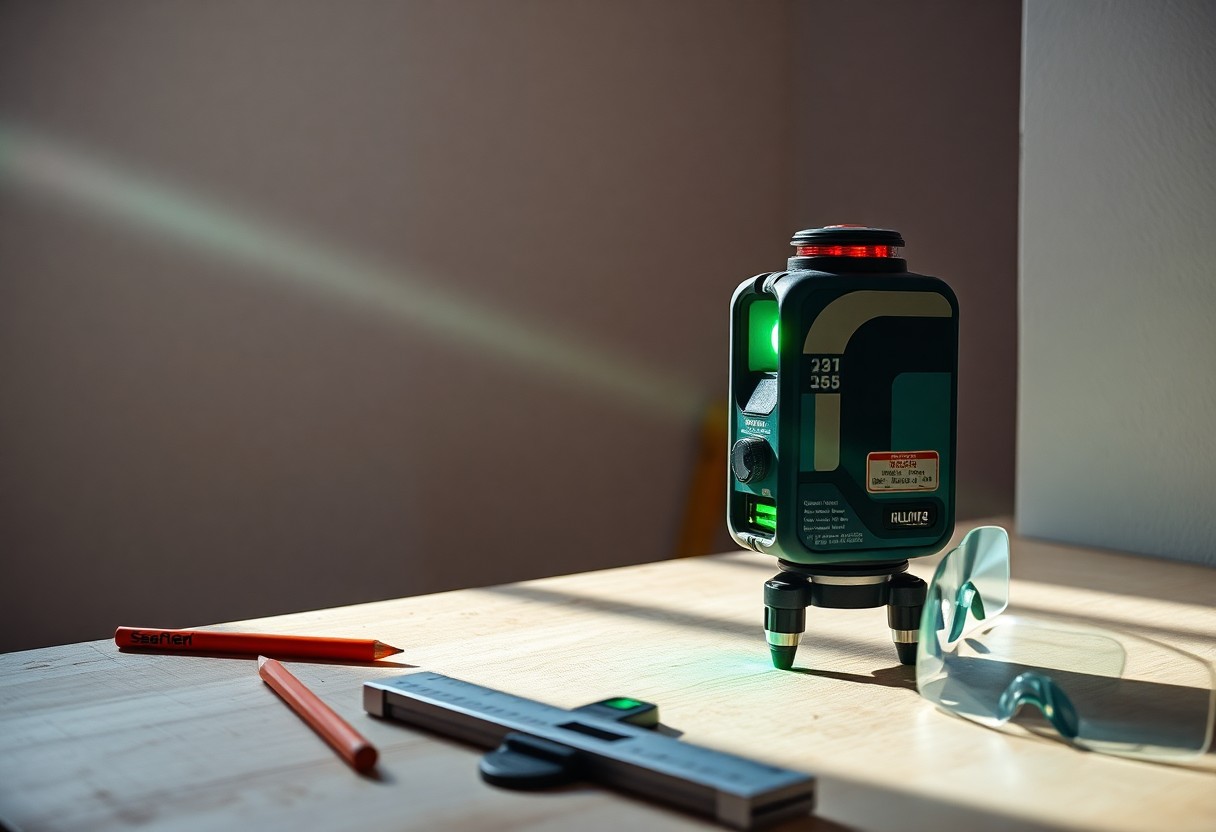
Key Features to Consider
When identifying a laser level, it’s important to consider various features that enhance usability and accuracy.
- Range: Ensure the laser level can cover the distance required for your projects.
- Accuracy: Look for tools that have minimal deviation for precise results.
- Ease of Use: A user-friendly interface saves time and frustration.
- Durability: Opt for robust designs that can withstand job site conditions.
- Self-Leveling: This feature provides quick set-up for accurate results.
Any of these features can significantly influence the quality of your work.
Understanding the key features aids in selecting a laser level that meets your project demands. The range of the laser ensures it suits your space, while accuracy is vital for achieving the best results. A reliable self-leveling mechanism allows for quick setup, and durability ensures longevity in varying conditions. With a user-friendly design, you can focus more on your project rather than the tool. Any consideration of these factors will enhance your DIY experience.
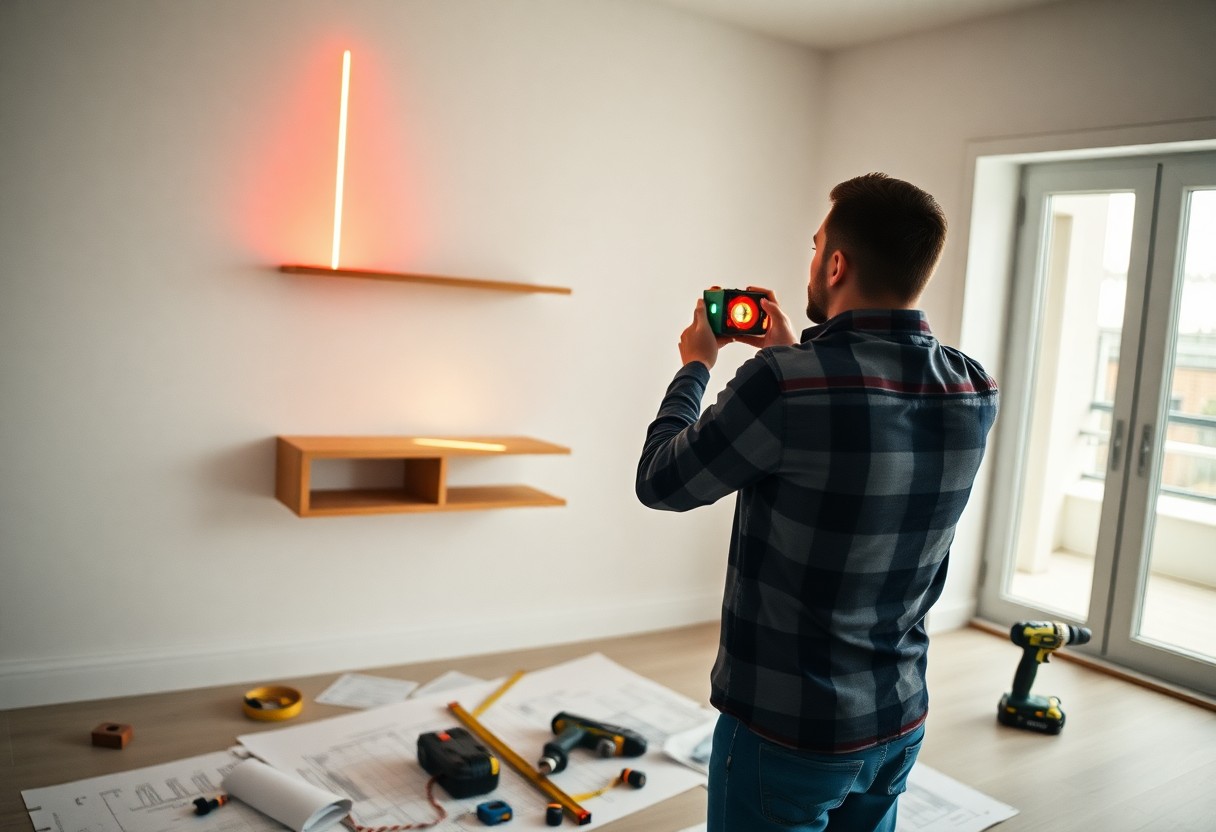
How to Set Up a Laser Level
Setting up a laser level requires careful attention to detail to ensure accurate results. First, choose a stable surface or tripods that can support the level without risk of movement. Position it at your desired height to align with your project specifications. It’s wise to check the manufacturer’s instructions for any specific setups needed, as different models may have unique requirements.
Choosing the Right Location
When deciding on a location for your laser level, aim for a surface free of vibrations or disturbances. An ideal spot is at eye level to facilitate easy visibility of the laser line. Ensure the background is uncluttered to distinguish the beam clearly. Additionally, keeping it away from direct sunlight reduces the chance of interference with your readings.
Calibrating Your Laser Level
Calibration of your laser level is necessary for precise alignment. Begin by setting the level on a flat surface and turning it on. Use a reference point, such as a nearby wall or marked measuring tape, to align the laser line. Check the reading against a known horizontal or vertical line to determine any adjustments that might be needed. If your level has a self-leveling feature, allow it to automatically adjust, but if it’s manual, fine-tune the settings until the beam is perfectly aligned.
For example, if your laser level shows a slight variance from a marked line, adjust the screws or feet to align the beam accurately. This might require multiple checks with a measuring tape or a level to confirm that the beam is consistent across several reference points. Taking the time to calibrate properly can save you from headaches later when you realize your framing is off by a few inches.
Tips for Using a Laser Level
To maximize the accuracy of your laser level, ensure you calibrate it properly before use. Position it on a stable surface and verify that the bubble is centered. Experiment with various distances to identify how the beam behaves on different surfaces. Additionally, always mark the level line clearly to avoid confusion later. Using a tripod can also enhance stability. Any inconsistencies can lead to costly errors in your project.
Common Mistakes to Avoid
A common oversight is neglecting to check the level before use, which can throw off your measurements. Ensure you don’t rely solely on the laser; verify with a traditional level, especially on uneven surfaces. Improper placement of the laser level can cause significant discrepancies, and failing to recalibrate after relocating it is another frequent mistake.
Best Practices for Accuracy
To achieve the highest accuracy with your laser level, keep your workspace clear of distractions and position the level away from reflective surfaces that may distort the beam. If working outdoors, consider shielding the laser from bright sunlight to increase visibility. Always take readings from the same reference point to maintain consistency.
When working on large projects, such as hanging cabinets or aligning tiles, perform multiple checks at different intervals. Utilize a receiver for enhanced detection of the laser line in bright environments or longer distances. Incorporating a digital laser level may also offer additional precision and features like slope measurements, facilitating complex tasks. Your attention to these details will ensure that every line and level is perfectly aligned, contributing to a professional finish in your DIY endeavors.
Factors Influencing Laser Level Performance
The performance of your laser level can be affected by multiple factors that you should consider for optimal results. Key elements include environmental conditions, surface types, leveling accuracy, and battery life.
- Environmental conditions
- Surface types
- Leveling accuracy
- Battery life
Assume that you optimize these factors to achieve precision in your projects.
Environmental Conditions
When using a laser level, environmental factors like light interference, temperature, and humidity play significant roles. Bright sunlight can wash out the laser beam, making it hard to see the line. For indoor use, avoid overly bright artificial lights that can also interfere with visibility.
Surface Considerations
The type and condition of the surface you’re working on can dramatically impact your laser level’s performance. Flat, stable surfaces ensure better accuracy, while uneven or textured surfaces can distort readings.
Ensure the ground you are working on is adequately leveled and solid. Surfaces with various textures, like drywall or brick, can absorb the laser light differently, causing you to misinterpret the measurement. If you’re dealing with painted surfaces, reflective finishes might alter the projected line’s visibility. Always strive for the most level and stable surface possible to enhance accuracy.
Step-by-Step DIY Projects with a Laser Level
| Project | Description |
| Leveling Shelves | Utilize your laser level to ensure that your shelves are perfectly horizontal, enhancing both aesthetics and functionality. |
| Installing Flooring | Use a laser level to establish a straight line for consistent flooring installation, minimizing potential misalignment. |
Leveling Shelves
To level your shelves, position the laser level on a stable surface and project a horizontal line across the wall. Adjust the brackets after confirming the line’s position, ensuring your shelves sit evenly. A laser level can help eliminate guesswork, providing a clear visual guide for accurate alignment.
Installing Flooring
When installing flooring, a laser level serves as an excellent tool for achieving straight lines. It allows you to establish a reference line, helping you avoid uneven gaps and ensuring that each plank is aligned uniformly. This precision can significantly improve the overall aesthetic and integrity of your flooring.
Your flooring installation’s success hinges on using the laser level effectively. Start by marking the starting point based on the room’s layout. Once you project the laser line across the floor, use it as a guide to maintain consistent spacing between planks. Check the level throughout installation to catch any shifts early on.
Maintenance and Care of Your Laser Level
To ensure optimal performance and longevity of your laser level, regular maintenance is crucial. This includes routine checks for accuracy, proper cleaning, and safe storage practices. By taking these steps, you’ll maintain your equipment’s functionality and reliability for all your DIY projects, ensuring they are executed flawlessly.
Cleaning Tips
Keep your laser level in top condition with these handy cleaning tips.
- Wipe the exterior with a soft cloth to avoid scratches.
- Use a lens cleaner for the optics, ensuring no debris affects the laser projection.
- Check and clean battery contacts to ensure consistent power delivery.
Assume that neglecting these steps could lead to decreased performance.
Storage Recommendations
Proper storage of your laser level is vital to prevent damage and misalignment. Always store it in a padded case or protective casing to shield it from physical impacts and environmental factors like moisture and dust. Avoid placing heavy objects on top of it, which could distort its structure. Make sure the storage area is cool and dry to inhibit any potential malfunctions related to temperature fluctuations. By following these guidelines, you secure the integrity and precision of your laser level for years to come.
To wrap up
Summing up, using a precise laser level is vital for achieving accuracy in your DIY home projects. By establishing clear reference points and ensuring straight lines, you enhance the quality of your work. Always calibrate your laser level, focus on the right settings for different surfaces, and take advantage of its versatility across various tasks. By following these guidelines, you empower yourself to create professional-looking results in your home improvement efforts.