How-to Master Measurement With A Precision Laser Level
This guide will equip you with the skills needed to use a precision laser level effectively for all your measurement needs. Understanding the key features of your device will enhance accuracy and efficiency during your projects. You’ll learn how to set up your laser level to achieve perfect alignments and eliminate human error, ensuring your work is always professional-grade. Embracing this technology not only boosts confidence in your craftsmanship but also enhances the overall quality of your results.
Contents
- How-to Choose the Right Precision Laser Level
- Understanding Different Types of Laser Levels
- Key Features to Look For
- How-to Set Up Your Laser Level for Accurate Measurements
- Proper Positioning Techniques
- Calibration Tips for Precision
- How to Use a Laser Level for Various Applications
- Measuring Horizontal and Vertical Alignments
- Utilizing Laser Levels for Construction Projects
- Tips for Improving Accuracy with Your Laser Level
- Environmental Factors to Consider
- Maintenance and Care for Long-term Use
- Factors Affecting Laser Level Performance
- Distance and Visibility Concerns
- Surface Conditions and Stability
- Troubleshooting Common Issues with Laser Levels
- Identifying Measurement Errors
- Solutions for Common Calibration Problems
- Summing up
How-to Choose the Right Precision Laser Level
Choosing the right precision laser level involves assessing your specific needs and understanding the features that different models offer. Your project type and environment will significantly influence which laser level is most suitable, so consider both indoor and outdoor capabilities.
Understanding Different Types of Laser Levels
Laser levels come in a variety of types, each designed for specific applications. Selecting the right type involves knowing your projects and requirements. Here’s a breakdown of the most common types:
| Type | Description |
| Point Laser Levels | Ideal for precise vertical and horizontal alignment. |
| Line Laser Levels | Projects straight lines across surfaces, great for installations. |
| Rotary Laser Levels | Casts a 360-degree line, perfect for outdoor large-scale projects. |
| Self-Leveling Laser Levels | Automatically adjusts to provide accurate readings. |
| Lake-Level Laser Levels | Specifically designed for grading and landscaping tasks. |
The right type will improve your accuracy and efficiency.
Key Features to Look For
When selecting a laser level, it’s important to consider key features that enhance usability and accuracy. Focus on aspects such as range, stability, and battery life to ensure effective performance.
- Self-Leveling: Ensures precision in various settings.
- Beam Visibility: Affects usability in different lighting conditions.
- Range: Determines how far the level can project lines.
- Durability: Important for outdoor or tough job site conditions.
- Battery Life: Affects how long you can work without recharging.
Knowing these features will help you select a laser level that is reliable and suitable for your needs.
In-depth consideration of these features will enhance the laser level’s performance. For example, a self-leveling feature ensures that even if the device is not perfectly level, it can still deliver accurate readings, reducing potential errors on your project. A robust durability rating is important especially if you work on construction sites where equipment can be exposed to harsh environments.
- Advanced Technology: Offers superior accuracy.
- Multiple Beam Options: Provides versatility for different tasks.
- Remote Control Features: Allows easier operation in challenging conditions.
- Tripod Compatibility: Enhances stability on uneven surfaces.
- Water Resistance: Critical for outdoor utility.
Knowing the key features can significantly influence the success of your projects.
How-to Set Up Your Laser Level for Accurate Measurements
To achieve precise measurements, proper setup of your laser level is important. Begin by identifying a stable, level surface where the laser will be placed, ensuring it remains undisturbed during operation. Utilize a tripod for added stability, and position the level at your desired height. Additionally, select a clear line of sight to the target area to maximize visibility and effectiveness of the laser beam.
Proper Positioning Techniques
Ensure that your laser level is set up on a firm base, preferably at eye level, for optimal visibility. Avoid reflective surfaces nearby that might confuse the laser’s visibility. The level should be oriented parallel to the area you’re measuring; this reduces the likelihood of inaccuracies and helps in maintaining straight lines.
Calibration Tips for Precision
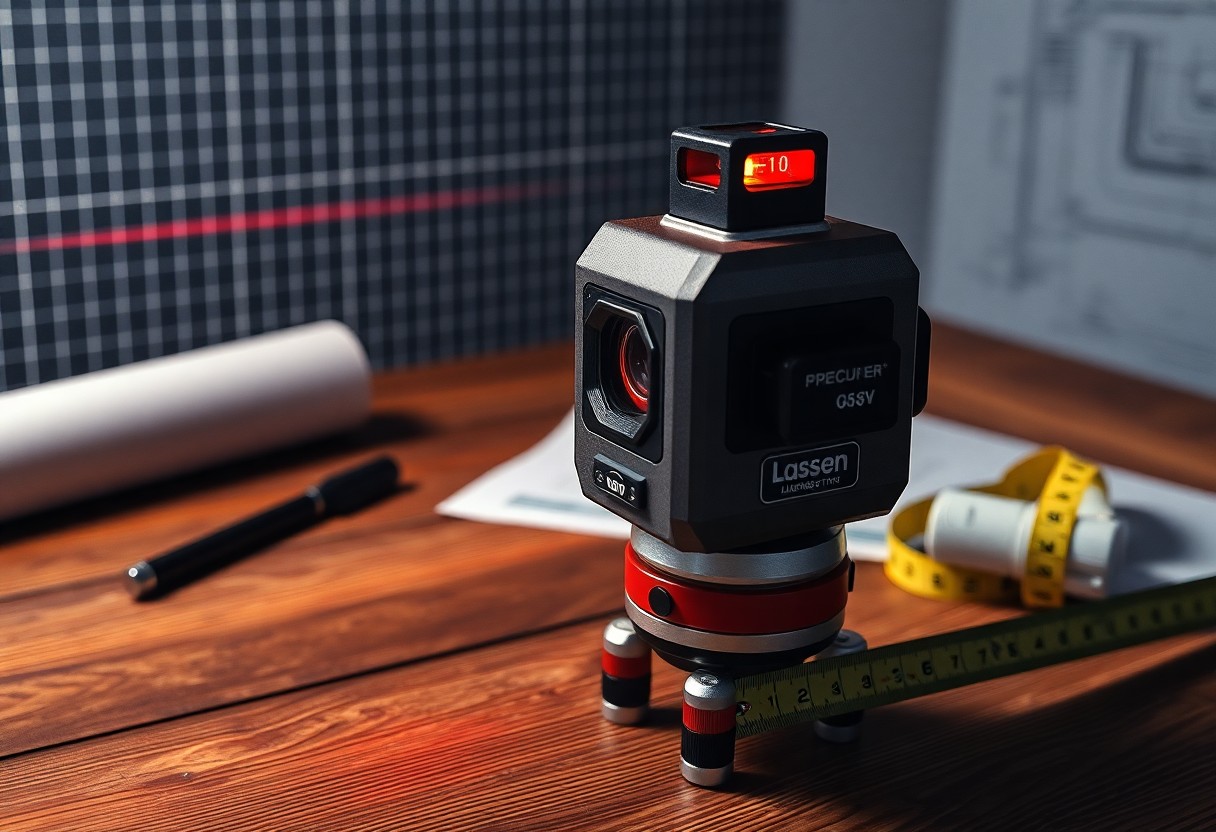
Before taking measurements, calibrate your laser level to enhance accuracy. Use a measuring tape to verify the level’s initial adjustment against a known point. Adjust the level until the laser line matches this reference point precisely. Regular calibration checks will help maintain the integrity of measurements over time.
- Stable Surface
- Clear Sight Lines
- Optimal Height
- Assume that these factors significantly improve the performance of your laser level.
Calibration involves refining your laser level’s accuracy using a trusted reference point. For precision, it’s beneficial to establish a routine check using tools like a plumb bob or a spirit level. This can help to ensure that minor shifts from usage are adjusted. The goal is to maintain a consistent line that mirrors your expected outcomes, translating to more reliable project results.
- Reference Point
- Routine Check
- Plumb Bob
- Assume that by implementing these calibration techniques, you significantly enhance your measurement reliability.
How to Use a Laser Level for Various Applications
A precision laser level is versatile for numerous tasks, from installing shelves to laying foundations. You can achieve seamless alignments by utilizing laser technologies in both indoor and outdoor projects. By adjusting the laser settings and utilizing its different features, you can effortlessly tackle a range of jobs, ensuring accuracy and efficiency in whatever you set out to achieve.
Measuring Horizontal and Vertical Alignments
To measure horizontal and vertical alignments, position your laser level on a stable surface and turn it on. For horizontal alignments, ensure the beam is level across your intended surface, marking reference points along the way. For vertical alignments, you might find it handy to use the plumb function of your laser, projecting a straight down line, helping you align vertical structures with pinpoint accuracy.
Utilizing Laser Levels for Construction Projects
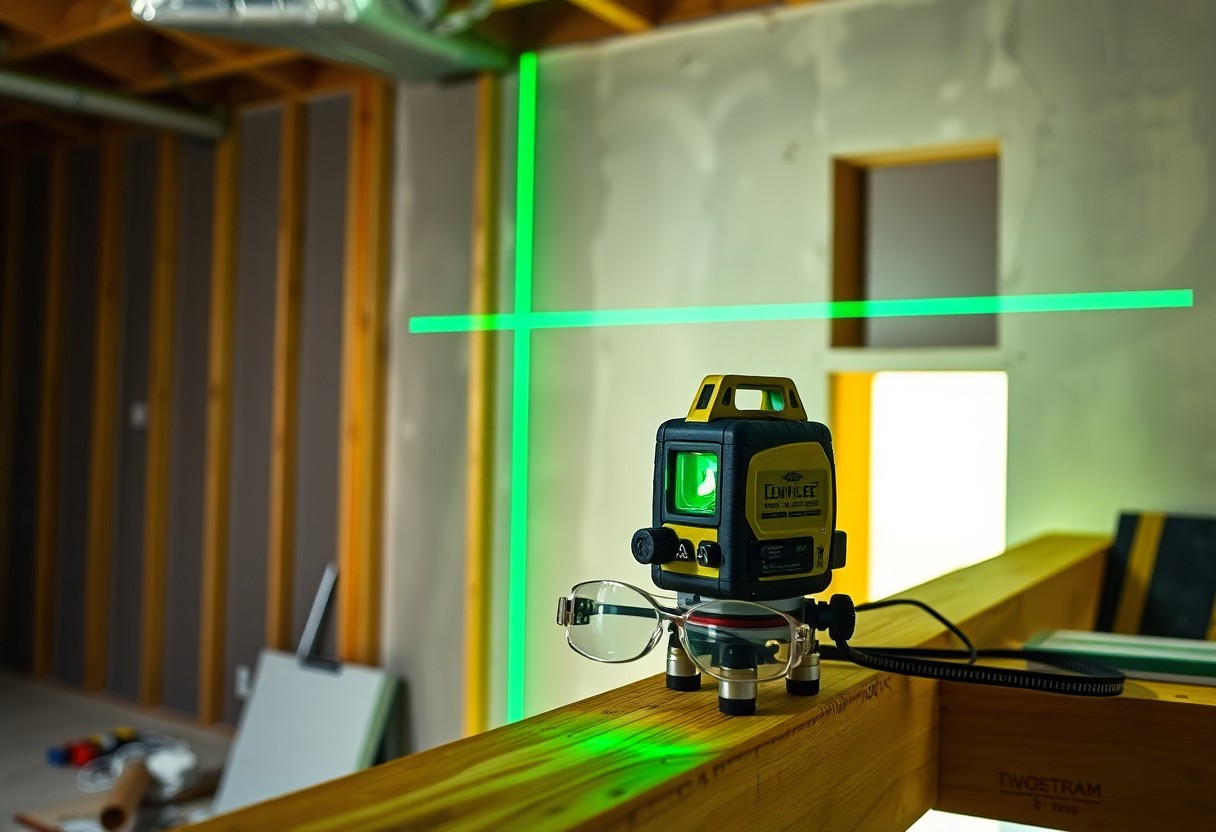
In construction projects, a laser level streamlines processes like framing or drywall installation by providing precise alignment. You can quickly assess the level of multiple surfaces, ensuring every element fits together correctly and securely. For example, when installing a fence, the laser level helps maintain consistent height across an extended distance, eliminating guesswork.
Using a laser level in construction enhances both efficiency and quality. For instance, when laying tile, employing a laser level allows you to achieve uniform grout lines and minimizes the risk of uneven surfaces. For framing, a laser provides a clear reference line over long distances, assisting in accurate placements. You can install fixtures, cabinets, and flooring with confidence, knowing that each element aligns perfectly as intended. Ultimately, the investment in a laser level pays off through time savings and reduced material waste.
Tips for Improving Accuracy with Your Laser Level
To enhance your laser level’s accuracy, ensure it’s perfectly calibrated before every use. Check for plumb alignment and projector settings to avoid discrepancies. Always use it on a stable surface, and if applicable, employ a tripod. Additionally, maintain a suitable distance from your target surface and consider utilizing the self-leveling feature for best results. Assume that consistently applying these practices will lead to superior measurements.
Environmental Factors to Consider
When using a laser level, various environmental factors can impact its accuracy. Consider lighting conditions; bright sunlight may wash out the laser beam, while shadows can create misleading lines. Wind or movement can also affect stability if you’re on an outdoor job site. Ensure your working area is free from disturbances. The environment directly influences the effectiveness of your tool.
Maintenance and Care for Long-term Use
Regular maintenance of your laser level is necessary for optimal performance over time. Clean the lens and exterior with a soft cloth to prevent dust and debris from interfering with laser projection. Store your laser level in a protective case when not in use to shield it from moisture and extreme temperatures. Regularly check and recalibrate it according to the manufacturer’s guidelines, and replace batteries as needed to ensure it remains fully operational. These simple yet effective practices can prolong the life of your tool and maintain its precision.
Factors Affecting Laser Level Performance
Your laser level’s accuracy can be impacted by various factors, including distance, surface conditions, and stability. It’s important to consider these elements to achieve the best results. Be aware of environmental conditions such as lighting and temperature, which can also influence visibility. Ensuring your equipment is at the right height and angle will optimize performance and increase measurement accuracy. Knowing these factors can help you select the appropriate laser level for your specific needs.
Distance and Visibility Concerns
Distance plays a significant role in laser level visibility. As the distance increases, the laser beam can become less distinct, especially in bright conditions. You should aim to operate your level within the manufacturer’s specified range to maintain a clear and visible line. Using a target can enhance visibility when working at extended distances.
Surface Conditions and Stability
The performance of your laser level greatly depends on the surface conditions where you set it up. Uneven or unstable surfaces can lead to inaccurate readings, making it necessary to establish a firm foundation. Always check for level ground and avoid soft or shifting materials that may cause the laser to shift during use.
For optimal performance, place your laser level on surfaces that are both stable and even, such as concrete or hardwood. If you’re working on softer ground, consider using a tripod or leveling device to secure it firmly. Avoid surfaces that can shake or vibrate, as this will disrupt the laser projection. If uneven terrain is unavoidable, some laser levels offer adjustable legs or bases that can cater to slight height discrepancies. A stable setup is necessary for accurate measurements and reliable readings throughout your project.
Troubleshooting Common Issues with Laser Levels
Even the best laser levels can present challenges during use, affecting your project’s precision. Knowing how to troubleshoot these common issues allows you to quickly achieve accurate results. Look for signs such as inconsistent beam visibility, unexpected measurement variations, or failure to level properly. These problems can often be resolved with straightforward adjustments or checks, ensuring your laser level remains a reliable tool in your measurement arsenal.
Identifying Measurement Errors
Measurement errors can manifest as discrepancies between the laser line and the intended line of sight. If you notice the beam diverging from the true level or measurements shifting when you adjust the tool, you might be facing a calibration issue. Always start by evaluating the surface and environment; vibrations or surface irregularities can significantly impact readings. Ensuring a stable setup is crucial for accurate measurements.
Solutions for Common Calibration Problems
To correct calibration issues, first check your setup. Ensure the laser level is placed on a stable, level surface free from vibrations. If the readings are still inconsistent, recalibrate your tool according to the manufacturer’s instructions. It may also help to use a reliable reference point to compare measurements—this could be a previously established level line or an adjacent vertical surface. Regular maintenance and calibration checks can significantly enhance the accuracy of your laser level.
Summing up
Ultimately, mastering the use of a precision laser level elevates your measurement accuracy and efficiency in any project. By understanding the functionality, properly setting up your device, and practicing on various surfaces, you enhance your skill set significantly. Incorporating this tool into your workflow not only streamlines tasks but also ensures precision in results, empowering you to execute your projects with confidence and professionalism.