How-to Master A Professional Paint Sprayer For Smooth And Even Finishes
Most paint jobs can benefit from the efficiency and precision of a professional paint sprayer. By mastering this tool, you can achieve smoother and more even finishes than with traditional brush painting. This guide will equip you with important techniques, tips for safety, and best practices to ensure your projects not only look fantastic but also allow you to enjoy the process. Prepare to transform your painting experience and achieve results that will impress with every stroke.
Contents
- Understanding Paint Sprayers
- Types of Paint Sprayers
- How Paint Sprayers Work
- Preparing for Use
- Selecting the Right Paint
- Preparing the Sprayer
- Mastering Techniques
- Proper Spraying Techniques
- Tips for Even Coverage
- Adjusting for Conditions
- Environmental Factors
- Surface Preparation
- Maintenance and Care
- Cleaning Your Sprayer
- Routine Maintenance Tips
- Troubleshooting Common Issues
- Identifying Spray Problems
- Solutions for Smooth Finishes
- Conclusion
Understanding Paint Sprayers
Paint sprayers are invaluable tools that streamline painting projects, allowing for an even and smooth application of various coatings. Familiarizing yourself with their components and functions is necessary for achieving professional results. Whether you’re repainting walls or applying a new finish on furniture, knowing your sprayer will optimize your technique and efficiency.
Types of Paint Sprayers
There are several types of paint sprayers, each tailored to specific applications and project sizes.
- Airless Paint Sprayers: Ideal for large surfaces and heavy materials.
- HVLP (High Volume Low Pressure) Sprayers: Best for detail work and smaller projects.
- Compressed Air Sprayers: Excellent for smooth finishes across various materials.
- Electrostatic Sprayers: Useful for even coating in industrial applications.
- Paint Spray Guns: Versatile for both small and large jobs, offering portability.
Assume that understanding these types will help you select the right tool for your next project.
| Type | Best Use |
| Airless Paint Sprayers | Large surfaces and thick materials |
| HVLP Sprayers | Detail work and fine finishes |
| Compressed Air Sprayers | Smooth finishes across varied surfaces |
| Electrostatic Sprayers | Industrial applications requiring even coats |
| Paint Spray Guns | Versatile for all job sizes |
How Paint Sprayers Work
Paint sprayers function by converting liquid paint into a fine mist, which allows for a uniform coat over surfaces. The sprayer’s motor draws in paint, and through either air pressure or electric motor function, it atomizes the liquid into tiny droplets.
Understanding the mechanics of how paint sprayers work is vital for effective use. For instance, an airless sprayer forces paint through a high-pressure tip, while an HVLP sprayer uses a combination of high volume and low pressure for precision. The setup, including the right nozzle size and adjustment of pressure, directly influences the finished output. You want to adjust these parameters according to the type of paint and the desired finish, ensuring that each applicator stroke produces an even layer with minimal overspray. This knowledge not only enhances your painting skills but also extends the life of the equipment.
Preparing for Use
Proper preparation is vital for achieving smooth and even finishes with your paint sprayer. This involves selecting the right paint and preparing the sprayer itself. Each aspect plays a critical role in ensuring that you avoid common pitfalls and optimize your spraying technique.
Selecting the Right Paint
Your choice of paint significantly impacts the final outcome. Use a paint that is compatible with your sprayer, ideally designed for spraying applications. For instance, latex paints often work well, while oil-based paints may require thinner. Check the manufacturer’s guidelines to ensure proper viscosity for achieving a uniform spray pattern.
Preparing the Sprayer
Before you start painting, it’s vital to prepare your sprayer properly. Begin by cleaning any residual paint from previous jobs and ensuring all components are functioning correctly. Priming the sprayer with the selected paint is also important; it establishes a consistent flow which is necessary for even application.
Cleaning the sprayer thoroughly helps avoid clogs and potential damage. Use a suitable cleaning solution to flush out hoses and the spray gun. Once cleaned, fill the reservoir with your chosen paint and test the sprayer on a practice surface. Adjust pressure settings based on the paint type to achieve the best atomization, ensuring a fine mist that lands evenly on the surface. Proper preparation will streamline your work and enhance your results significantly.
Mastering Techniques
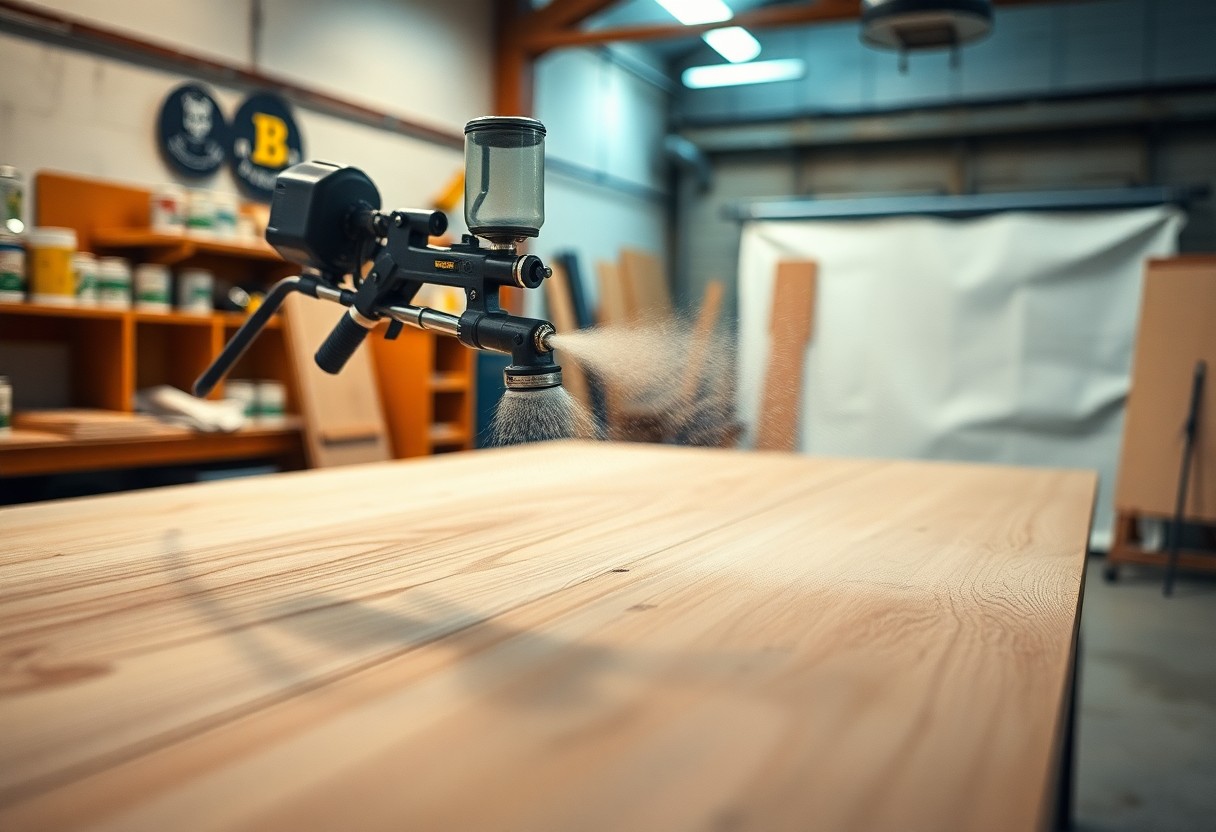
Mastering your paint sprayer involves understanding various spraying methods and practices that ensure a flawless finish. Through practice, you will develop precision and efficiency, enabling you to cover surfaces uniformly. Focusing on techniques such as spray patterns and distance helps in achieving the desired results with minimal effort. Dive into the art of control and consistency to elevate your painting skills.
Proper Spraying Techniques
To achieve optimal results, you must stand about 12 inches away from the surface and maintain a steady motion. Overlap each pass by 50% to avoid missed spots. Use a consistent speed while keeping the nozzle perpendicular to the surface for an even application. Practicing these strategies will lead to better control and smoother finishes.
Tips for Even Coverage
Achieving even coverage requires a combination of technique and patience. Ensure that your paint sprayer is adequately set up by calibrating the nozzle and using the right paint viscosity. Start with lighter coats, building up to thicker applications while allowing proper drying times in between. Using a consistent movement pattern is imperative for avoiding drips and runs, resulting in a flawless look.
- Calibrate your nozzle settings for an even application.
- Overlap strokes by 50% to ensure uniform coverage.
- Allow proper drying time between coats for a smooth finish.
Thou must pay attention to details, as even slight inconsistencies can lead to visible flaws. Regularly cleaning and maintaining your equipment keeps the sprayer in top shape, reducing the chances of uneven results.
- Use lighter coats to avoid drips.
- Maintain a consistent speed when spraying.
- Practice on scrap materials to refine your technique.
Thou can further improve your skills with practice, experimenting with different surfaces and paint types to discover the techniques that work best for your projects. This experimentation will lead to greater confidence and mastery over your paint sprayer.
Adjusting for Conditions
Environmental factors significantly influence your paint sprayer’s performance, impacting the finished appearance. You must adapt your approach based on temperature, humidity, and wind conditions to ensure optimal results. High temperatures can dry paint too fast, while high humidity may prevent it from drying evenly. Be vigilant about monitoring the weather on painting days.
Environmental Factors
Temperature and humidity affect both the drying time and the adhesion of your paint. Paint applied in hot weather may dry too quickly, leading to imperfections, while humid conditions can create issues with curing. You should plan your painting during ideal times, typically when the air is dry and temperatures are moderate.
- Temperature impacts drying times.
- Humidity can affect paint adhesion.
- Wind may disrupt your spray patterns.
This is why checking local weather forecasts beforehand allows for a well-timed painting job.
Surface Preparation
Surface preparation is critical for ensuring a smooth finish when using a paint sprayer. Take the time to clean, sand, and prime surfaces as necessary. Remove dirt, grease, and old paint to provide a trustworthy base for your new coat. Doing this correctly will enhance adhesion and prevent peeling or bubbling after application.
Begin with a thorough cleaning using a suitable solvent or detergent to eliminate all contaminants. Next, lightly sand the surface to create a texture that your paint can grip onto. For porous surfaces, applying a primer helps seal and provides an even base, especially important when working with different materials like wood or metal. By dedicating attention to these details, you’ll set the stage for a flawless finish that endures.
Maintenance and Care
To ensure your paint sprayer delivers optimal performance and longevity, regular maintenance and care are imperative. Proper upkeep not only prevents clogs and damage but also guarantees smooth and even finishes in your projects. Addressing both cleaning and routine maintenance will keep your sprayer in prime condition, ready for your next painting endeavor.
Cleaning Your Sprayer
After each use, cleaning your sprayer is vital. Begin by emptying the paint reservoir and running a cleaning solution, such as water or mineral spirits, through the system. Disassemble the spray gun and clean the nozzle, filter, and other components thoroughly to prevent paint build-up. A well-maintained sprayer will perform efficiently and produce consistent results.
Routine Maintenance Tips
Implementing a few simple routine maintenance tips can extend the life of your sprayer. Regularly inspect hoses and fittings for wear, check seals for leakage, and lubricate moving parts as per the manufacturer’s recommendations. Scheduling these tasks every few months will keep your sprayer working effectively. Any mechanical issues should be addressed immediately to avoid more significant problems.
- Inspect hoses and fittings for wear often.
- Check seals for any signs of leakage.
- Lubricate moving parts based on manufacturer’s instructions.
- Schedule maintenance tasks every few months.
- Any neglect can lead to expensive repairs and poor performance.
By routinely checking and addressing potential issues, you can prevent costly repairs and ensure your sprayer delivers the performance you expect. Keep a log of when you perform maintenance, as this can help identify patterns and highlight when specific parts may need replacement. Additionally, refer to your manual for specific guidelines tailored to your model. Any proactive approach reinforces your sprayer’s reliability.
- Log maintenance activities to track performance.
- Refer to the manual for model-specific advice.
- Identify patterns in performance issues.
- Replace parts as necessary to maintain efficiency.
- Any oversight in upkeep can compromise your painting results.
Troubleshooting Common Issues
Encountering issues while using a paint sprayer can be frustrating, but many problems are easily identifiable and can be addressed without extensive downtime. You might experience issues such as uneven coverage, overspray, or clogging, each of which requires a different approach. Assessing the symptoms early on allows you to employ targeted solutions, ensuring that your project remains on track and achieves a professional look.
Identifying Spray Problems
To tackle spray problems effectively, first, observe the spray pattern on your surface. An inconsistent or irregular pattern often indicates a clog or improper spray height. Additionally, overspray spattering can signal a need for paint thinning or adjustments in pressure settings. Take the time to analyze these signs to pinpoint the specific issue affecting your application.
Solutions for Smooth Finishes
Achieving smooth finishes starts with addressing identified issues promptly. If you notice a clogged nozzle, disassemble and clean thoroughly. Adjust your paint viscosity by following the manufacturer’s recommendations to ensure optimal flow. Calibrating your sprayer’s pressure settings is important; excessive pressure can lead to overspray, while insufficient pressure can cause incomplete coverage.
When addressing the paint viscosity, it’s important to follow specific guidelines, typically recommended by the paint manufacturer—generally, most paints should flow smoothly but still cling to surfaces. Aim for a consistency analogous to that of milk; if the paint is too thick, consider adding a small amount of solvent, keeping the mixture within the manufacturer’s recommended ratios. A well-calibrated sprayer, operating at the right pressure settings, will provide consistent application without overspray, allowing your finishes to look polished and professional. Regular practice and adjustments based on performance will lead to mastery of smooth and even finishes.
Conclusion
Following this guide will empower you to master your professional paint sprayer effectively. By understanding the equipment, properly preparing your surface, controlling your technique, and maintaining your sprayer, you can achieve smooth and even finishes on any project. Each step you practice enhances your skill and confidence, ultimately resulting in high-quality outcomes that elevate your work. Embrace these practices, and your painting endeavors will become more efficient and rewarding.