How-to Grill Like A Pro With A Durable Gas Grill
Pro grilling requires more than just technique; it demands the right equipment. By choosing a durable gas grill, you ensure consistent heat and versatility for all your favorite recipes. You’ll learn how to maximize flavor, achieve perfect sear marks, and maintain safety while handling hot surfaces. As you master these tips, you’ll impress friends and family with your grilling skills, all while enjoying the convenience and ease that a gas grill provides.
Contents
- Choosing the Right Gas Grill
- Understanding Grill Types
- Key Features to Look For
- Preparing Your Gas Grill for Use
- Cleaning and Maintenance Tips
- Preheating Best Practices
- Essential Grilling Techniques
- Direct vs. Indirect Heat
- Mastering Temperature Control
- Flavoring Your Food
- Marinades and Rubs
- Wood Chips and Smokers
- Grilling Safely
- Safety Gear and Precautions
- Handling Flammable Liquids
- Common Grilling Mistakes to Avoid
- Overcooking and Undercooking
- Neglecting Rest Time
- Conclusion
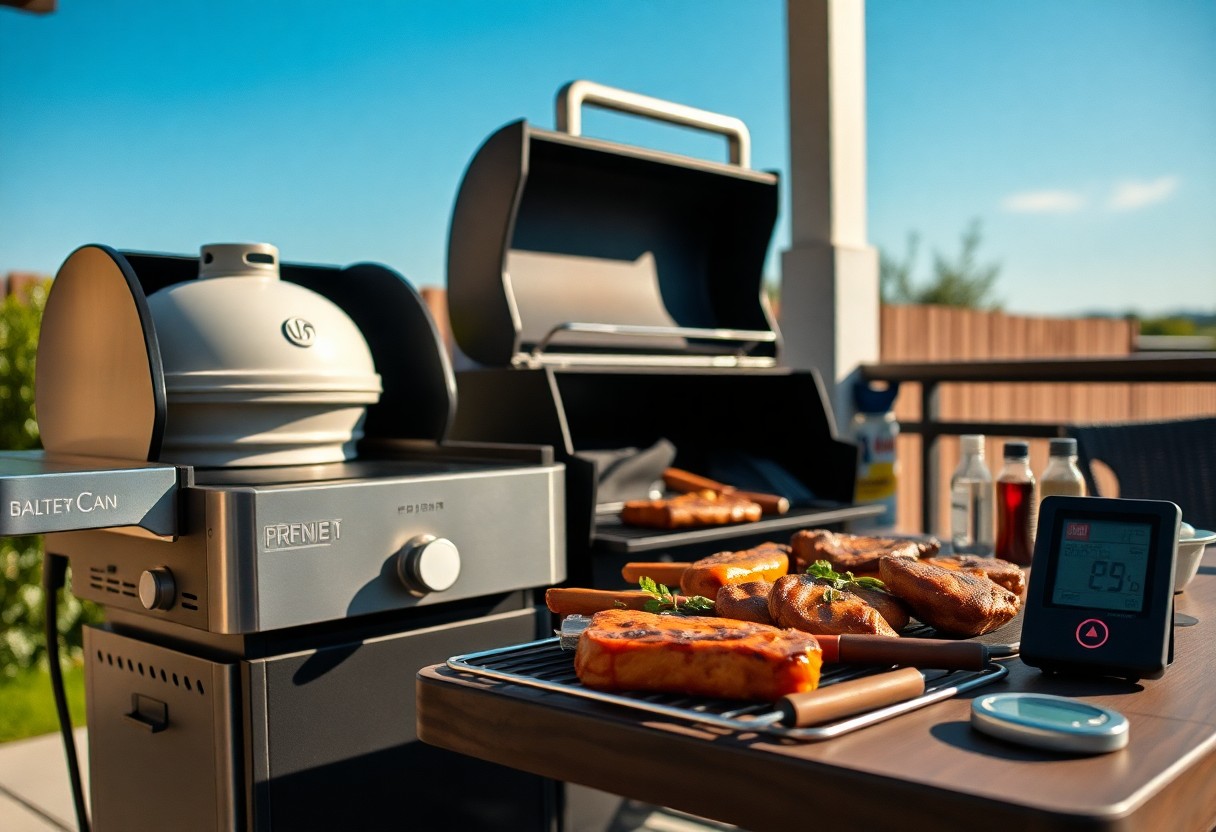
Choosing the Right Gas Grill
Selecting the ideal gas grill involves evaluating several key aspects tailored to your grilling habits and preferences. Assess factors such as size, fuel type, and cooking features. With a myriad of options available, finding a grill that accommodates your culinary style while ensuring durability is vital for successful barbecuing.
Understanding Grill Types
Various types of gas grills cater to different grilling styles and needs. Here’s a breakdown:
| Type | Characteristics |
| Portable Grills | Lightweight, compact, ideal for tailgating. |
| Standard Grills | Functional with ample cooking space, perfect for home use. |
| Built-in Grills | Seamlessly integrated into outdoor kitchens, offering luxury. |
| Freestanding Grills | Versatile with mobility, allowing easy relocation. |
Perceiving the differences among grill types helps you align your choice with your grilling ambitions and outdoor space.
Key Features to Look For
When evaluating gas grills, certain features can significantly enhance your cooking experience. Prioritize the following:
- BTU Output – Ensures adequate heat for cooking.
- Cooking Area – Size matters for the quantity of food you grill.
- Material Quality – Stainless steel provides durability against rust.
- Burner Type – Different designs affect heat distribution.
- Warranty – Longer warranties signal manufacturer confidence.
After considering these important features, you’ll enhance your grilling performance and product longevity.
A deeper understanding of these key features aids in making an informed choice. Further, consider how each contributes to your grilling style:
- BTU Output – Higher BTUs often translate to faster cooking.
- Cooking Area – A larger area allows more simultaneous cooking.
- Material Quality – Get a grill that withstands weather.
- Burner Type – Options like infrared for quick searing.
- Warranty – Peace of mind from reliable coverage.
After evaluating these features, you’ll ensure that your investment aligns with your culinary goals and preferences.
Preparing Your Gas Grill for Use
Before you fire up your gas grill, preparation is vital for optimal performance and safety. Start by ensuring that the grill is clean and free from debris, checking all connections for leaks, and verifying that the propane tank is filled. Always inspect the burner tubes for clogs, as proper airflow is key to even cooking. Your grilling experience will greatly benefit from these pre-use checks.
Cleaning and Maintenance Tips
Regular cleaning and maintenance of your gas grill is vital for longevity and flavor. After each use, give the grates a good scrub while they’re still warm to prevent buildup. Monthly, check for grease buildup in the drip tray and empty it as needed. Keep the exterior clean and free from rust by periodically wiping it down. The key to a well-functioning grill is consistent care.
- Scrub grates after use
- Empty drip trays regularly
- Inspect for rust on the exterior
- Check burner tubes for clogs
Preheating Best Practices
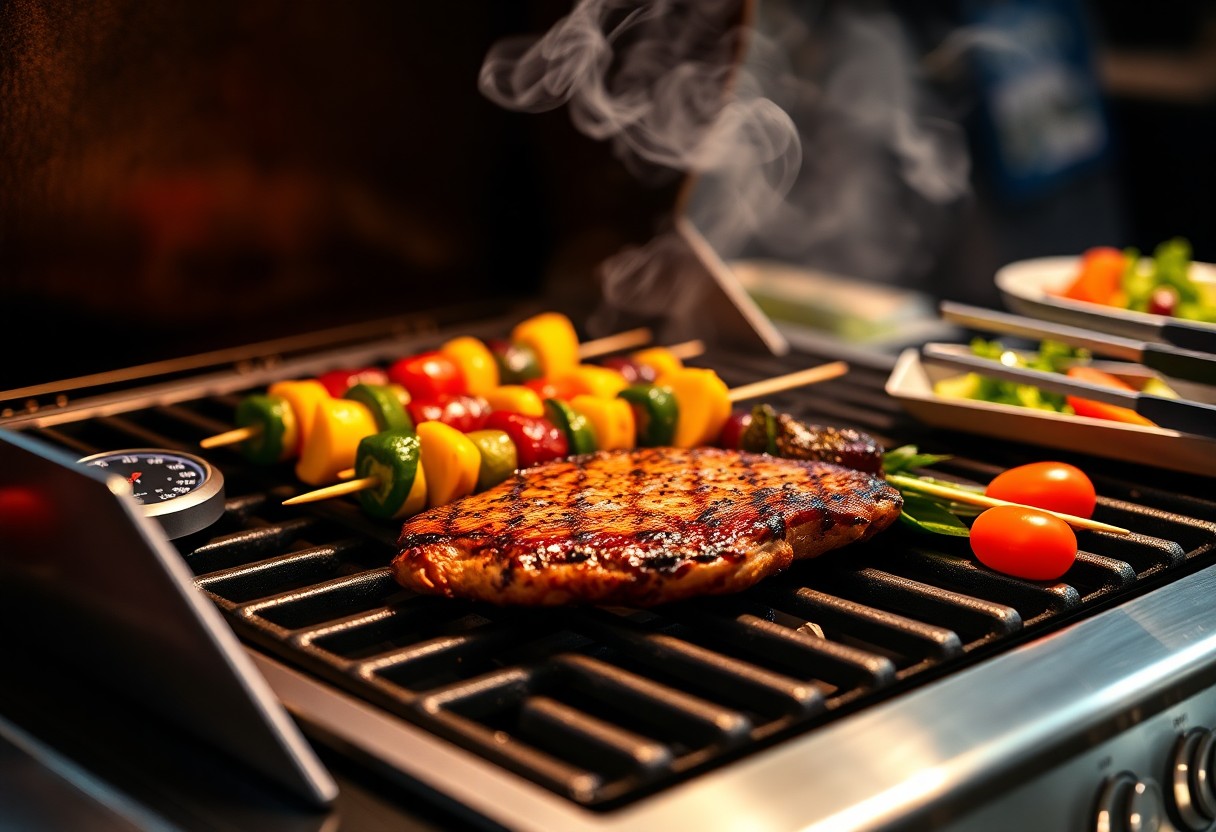
Preheating your gas grill is an vital step in achieving perfectly cooked meals. Set your burners to high and close the lid for 10 to 15 minutes, allowing the grill to reach the ideal cooking temperature. This process not only helps to sear meats effectively, locking in juices, but also reduces sticking on the grates. The right preheating establishes a reliable cooking environment for every grilling occasion.
To ensure consistent results while grilling, use a grill thermometer to monitor the internal temperature. For optimal searing, aim for temperatures between 450°F and 500°F. Depending on what you’re grilling, adjusting both the direct and indirect heat zones can drastically improve your outcomes. The combination of proper preheating and temperature control enhances flavor while reducing the risk of overcooking.
Essential Grilling Techniques
Mastering grilling requires understanding the basic techniques that elevate your skills. Focusing on direct and indirect heat will significantly impact your cooking outcomes, while temperature control ensures perfect doneness and prevents overcooking. Knowing when to apply these techniques can enhance flavors and textures, allowing you to grill dishes like a professional.
Direct vs. Indirect Heat
Direct heat involves placing food directly over the flames, ideal for quick-cooking items like burgers and steaks. Conversely, indirect heat is perfect for larger cuts, allowing for gradual cooking without burning. This method traps heat, ensuring even cooking and retention of moisture.
Mastering Temperature Control
Effective temperature control is key to achieving consistent grilling results. Invest in an accurate thermometer and familiarize yourself with your grill’s heat zones. This knowledge allows you to sear meats at high temperatures while using lower temperatures for slow cooking, providing versatility in your grilling repertoire.
Temperature Control Tips
| Use a thermometer | Monitor internal temperatures for proper doneness. |
| Adjust burners | Create different heat zones by modifying burner settings. |
| Close the lid | Traps heat for controlling cooking in indirect methods. |
Maintaining the right temperature not only affects cooking times but also influences the flavor of your food. For example, grilling steaks at 450°F allows for a flavorful crust, but too high can lead to a raw center. Using a two-zone cooking method gives you the opportunity to adjust as necessary while using less energy. Familiarize yourself with your grill’s specific heat patterns to optimize your grilling experience.
Understanding Temperature Zones
| Hot Zone | Ideal for searing and quick browning. |
| Warm Zone | Perfect for cooking through without drying out. |
| Cool Zone | Useful for resting food or slow cooking. |
Flavoring Your Food
Enhancing the taste of your grilled dishes requires attention to flavoring techniques that elevate your culinary creations. By focusing on marinades, rubs, and smoking methods, you can infuse your food with delicious complexity. These practices not only add depth but also complement the natural flavors of your ingredients, ensuring every bite is bursting with taste.
Marinades and Rubs
Marinades and rubs are vital tools in your flavor arsenal. A simple mixture of oil, acid, and spices can transform even the most basic cuts of meat into culinary masterpieces. Try marinating your chicken in a blend of olive oil, lemon juice, garlic, and herbs for at least an hour, or apply a dry rub with brown sugar, paprika, and cayenne for an irresistible crust.
Wood Chips and Smokers
Incorporating wood chips or a smoker into your grilling routine adds an extra layer of flavor that cannot be overlooked. Different types of wood, such as hickory, mesquite, or applewood, impart unique aromas and tastes. Use a smoker box or soak chips in water and place them on the grill to create a rich smoky environment, enhancing your meats and veggies with savory richness.
For optimal results, choose wood chips based on the type of food you’re grilling. For example, mesquite lends a bold flavor to beef, while applewood provides a sweet, mild essence perfect for poultry. Soaking the chips for about 30 minutes before use helps them smolder and produce smoke rather than burn quickly. You can also combine different wood types for a custom flavor profile, opening up a world of possibilities for your grilling adventures.
Grilling Safely
Safety during grilling is imperative to prevent accidents and maintain a worry-free cooking environment. Start by keeping a fire extinguisher nearby and ensuring your grill is positioned away from flammable structures. Always keep an eye on the cooking process to avoid flare-ups and never leave your grill unattended. Checking gas connections regularly can prevent leaks, and using a grill brush can reduce the risk of foodborne illnesses.
Safety Gear and Precautions
Wearing protective gear can significantly enhance your grilling safety. Use heat-resistant gloves to handle hot grates and utensils, and opt for long sleeves to protect your arms from burns. Safety glasses can shield your eyes from smoke and splatter, while closed-toe shoes minimize the risk of foot injuries. Also, ensure you have a first aid kit handy for any minor accidents.
Handling Flammable Liquids
Handling flammable liquids requires your utmost attention. Always use approved containers for storing propane or lighter fluid, and avoid using gasoline or other unsuitable fuels, as they can cause explosions. When refilling your propane tank, do it outdoors, away from the grill and any ignition sources. Be mindful that a small spill can quickly become a fire hazard, so clean up any leaks immediately.
When using flammable liquids like lighter fluid, the amount and application method are critical. Apply lighter fluid only to unlit coals, never to a lit grill, and let it soak in for a few minutes before igniting to prevent sudden flare-ups. Always follow the manufacturer’s instructions, and consider using a chimney starter, which can eliminate the need for lighter fluid altogether. This not only enhances safety but also improves the flavor of your food.
Common Grilling Mistakes to Avoid
Avoiding common grilling mistakes can significantly improve your grilling game. Many home cooks inadvertently compromise their food’s quality and flavor by overlooking necessary tips. From cooking temperatures to timing, being mindful of these pitfalls ensures you create perfect dishes every time.
Overcooking and Undercooking
One of the biggest challenges in grilling is achieving the right doneness. Overcooking can lead to dry, tough meat, while undercooking poses health risks, especially with poultry. Use a reliable meat thermometer to check internal temperatures—aim for 145°F for poultry, 160°F for ground meats, and 145°F for most steaks. This way, you can serve perfectly cooked meals that are safe and delicious.
Neglecting Rest Time
Resting your meat after grilling is often overlooked but vital for maximizing flavor and juiciness. Allowing cooked meat to rest for at least 5-10 minutes allows juices to redistribute throughout the meat, preventing them from spilling out when you cut into it. This simple step can make a noticeable difference in your final dish, maintaining moisture and enhancing flavor.
When you neglect rest time, your hard work goes to waste as juices run out, leaving you with a dry, less flavorful dish. During this time, the meat’s fibers relax, resulting in a more tender bite. For example, a grilled steak can benefit tremendously from just a 10-minute rest, delivering a succulent texture that you and your guests will appreciate. Don’t skip this step; it’s worth the wait.
Conclusion
From above, mastering the art of grilling with a durable gas grill is achievable with the right techniques and practices. You can enhance your grilling skills by understanding temperature management, choosing quality ingredients, and utilizing proper tools. By implementing the tips outlined, you’ll not only impress your guests but also elevate your outdoor cooking experience, making every meal a memorable one. Invest in a reliable grill and prioritize your grilling techniques to enjoy delicious and perfectly cooked dishes every time.